Post Object
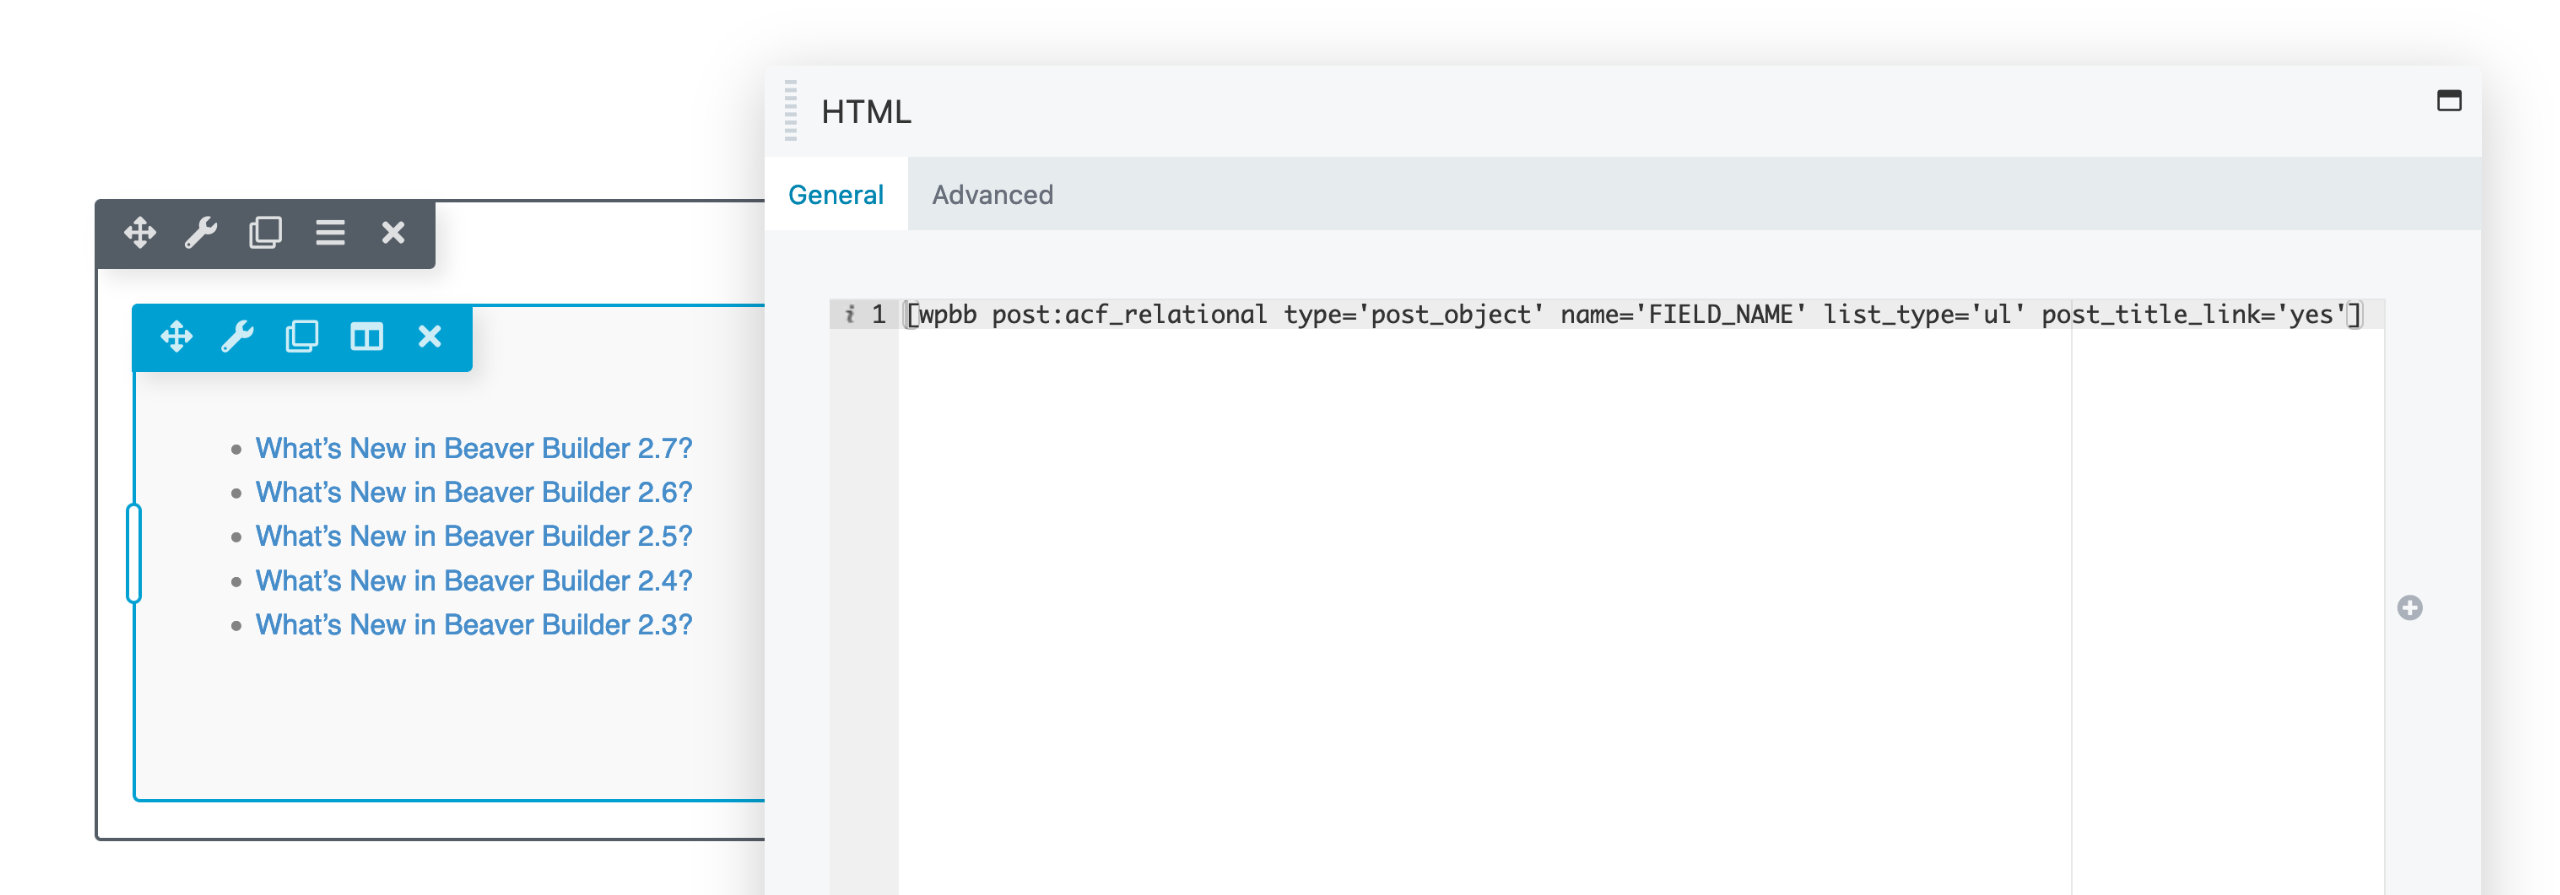
The Post Object field of Advanced Custom Fields (ACF) is supported in Beaver Themer through a field connection shortcode. This field enables the creation of a list of posts.

Getting Started
Begin by creating a Post Object field in ACF, and then customize the field to your preferences using the available options provided, such as Filter by Post Type, Taxonomy, allowing Multiple, and assigning a Location Rule.
The Post Object field connection is not compatible with ACF Option Pages.
After configuring the field, navigate to the WordPress Edit Screen for the page, post or custom post type that you specified in the Location Rule option, and add your pages, posts, or custom post type items to the field.
Using the Post Object Field
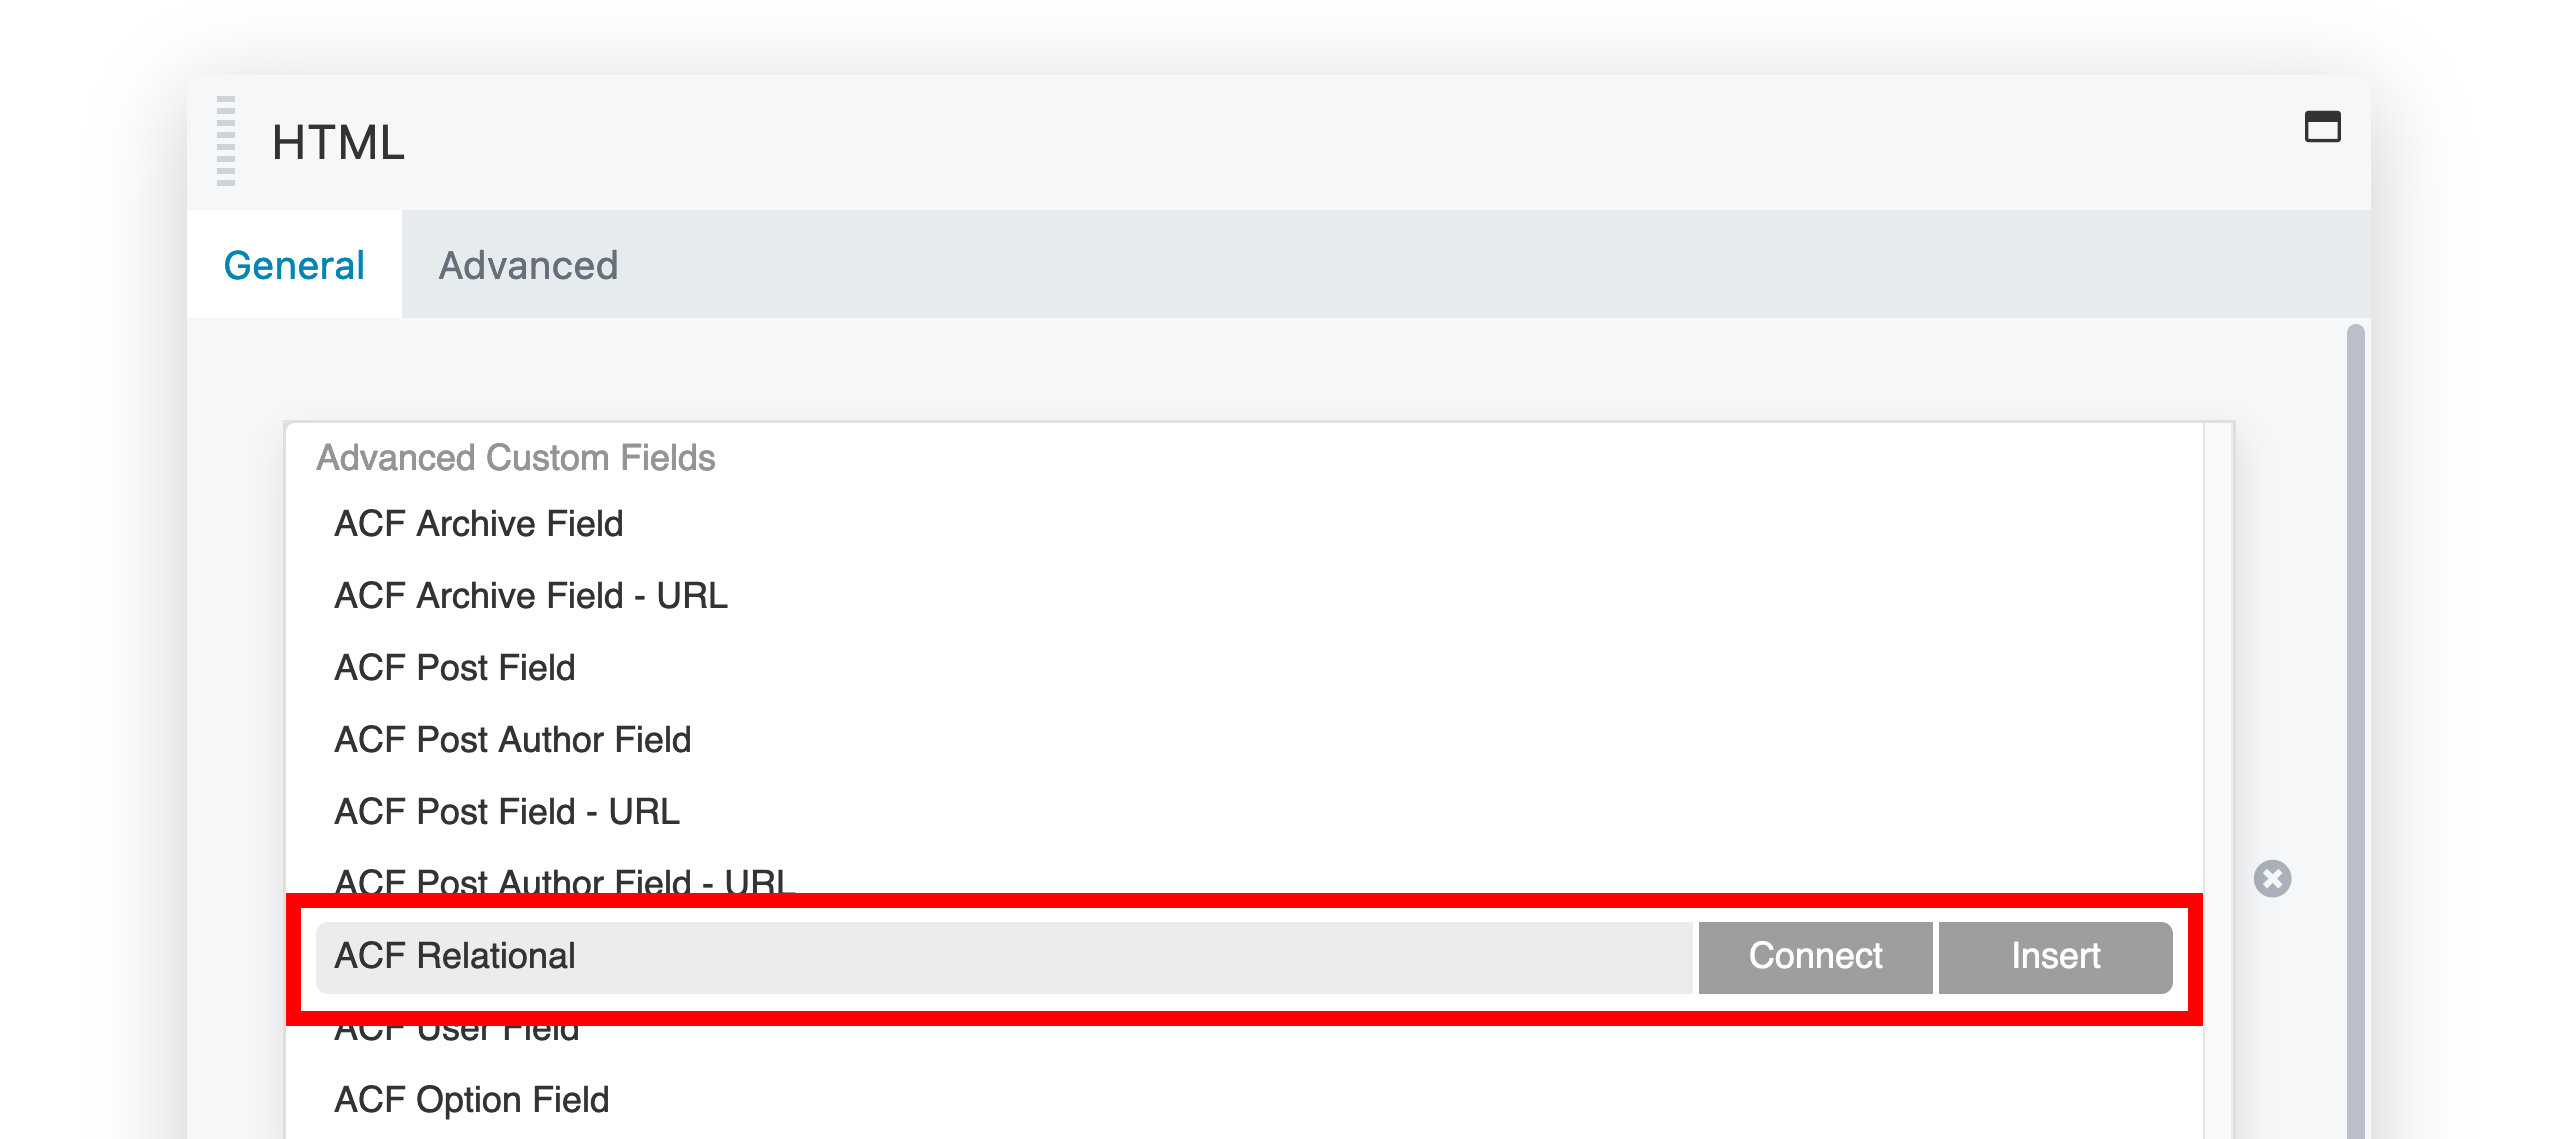
To use the Post Object field and generate a list of posts in a page, post or custom post type, add an HTML module to your layout, and click the Plus (+) icon to open the Field Connection list panel. Next, select between Connect or Insert and configure the shortcode using the available options.

Shortcode
Below is an example of the Post Object field connection shortcode.
[wpbb post:acf_relational type='post_object' name='FIELD_NAME' list_type='ul' post_title_link='yes']
You can enter your Post Object field name in the name='' attribute.
Options
List Type - There are three options available: Regular, which uses the
<div>tag, Ordered List, which uses the<ol>tag, and Unordered List, which uses the<ul>tag.Wrapper Class - Add a custom class to the wrapper element.
<ul class="my-wrapper-class"> <!-- Wrapper Class -->
  <li class="post-123">
    <a href="https://my-website.com/hello-world" title="Hello World">Hello World</a>
  </li>
</ul>
Add Post Title Link - You can choose between "Yes" and "No." Selecting "Yes" allows you to add a link to the post, while choosing "No" will result in the post title being displayed as plain text.
Markup Output
Depending on the List Type option you choose, the HTML markup generated by the field connection will differ. Nevertheless, in all three List Type options, a distinct classname for the post ID is given to every list or div item, allowing you to apply custom CSS and style your post object list to your liking.
The following three code examples showcase the distinct HTML markup for each List Type option, along with the post ID classname, which is post-123 in all of the examples.
- Unordered List (<ul>
- Ordered List (<ol>)
- Regular (<div>)
<ul class="my-wrapper-class">
  <li class="post-123">
    <a href="https://my-website.com/hello-world" title="Hello World">Hello World</a>
  </li>
</ul>
<ol class="wrapper-class">
  <li class="post-123">
    <a href="https://my-website.com/hello-world" title="Hello World">Hello World</a>
  </li>
</ol>
<div class="wrapper-class">
  <div class="post-123">
    <a href="https://my-website.com/hello-world" title="Hello World">Hello World</a>
  </div>
</div>
Ordering your Post Object Items
To sort your Post Object field items, access the WordPress Edit Screen of the page, post, or custom post type to which you assigned the field using the ACF Location Rule option.
You can then rearrange the items in any order you prefer by dragging your pages, posts, or custom post type items. The field connection shortcode will respect the changes made when publishing.