Popup Maker
The Popup Maker plugin is a WordPress plugin that allows you to create and manage popups on your website. The integration enables you to use Beaver Builder to design the content of your popups.
Getting Started
To get started using the Popup Maker plugin with Beaver Builder:
- Install and activate the Popup Maker plugin on your website.
- Upon activation, the Popup Maker post type (
popups) will be automatically enabled within the Beaver Builder settings.
You can locate this setting in your WordPress Admin Dashboard under Settings > Beaver Builder > Post Types.
Create a Popup
- Access your WordPress Admin Dashboard.
- Navigate to Popup Maker > Create Popup.
- Provide a title for your popup.
- Configure the popup settings to your preferences.
- Click on the Beaver Builder tab to launch the Beaver Builder interface.
- Utilize the builder to design your popup layout and remember to save your work.
Displaying a Popup
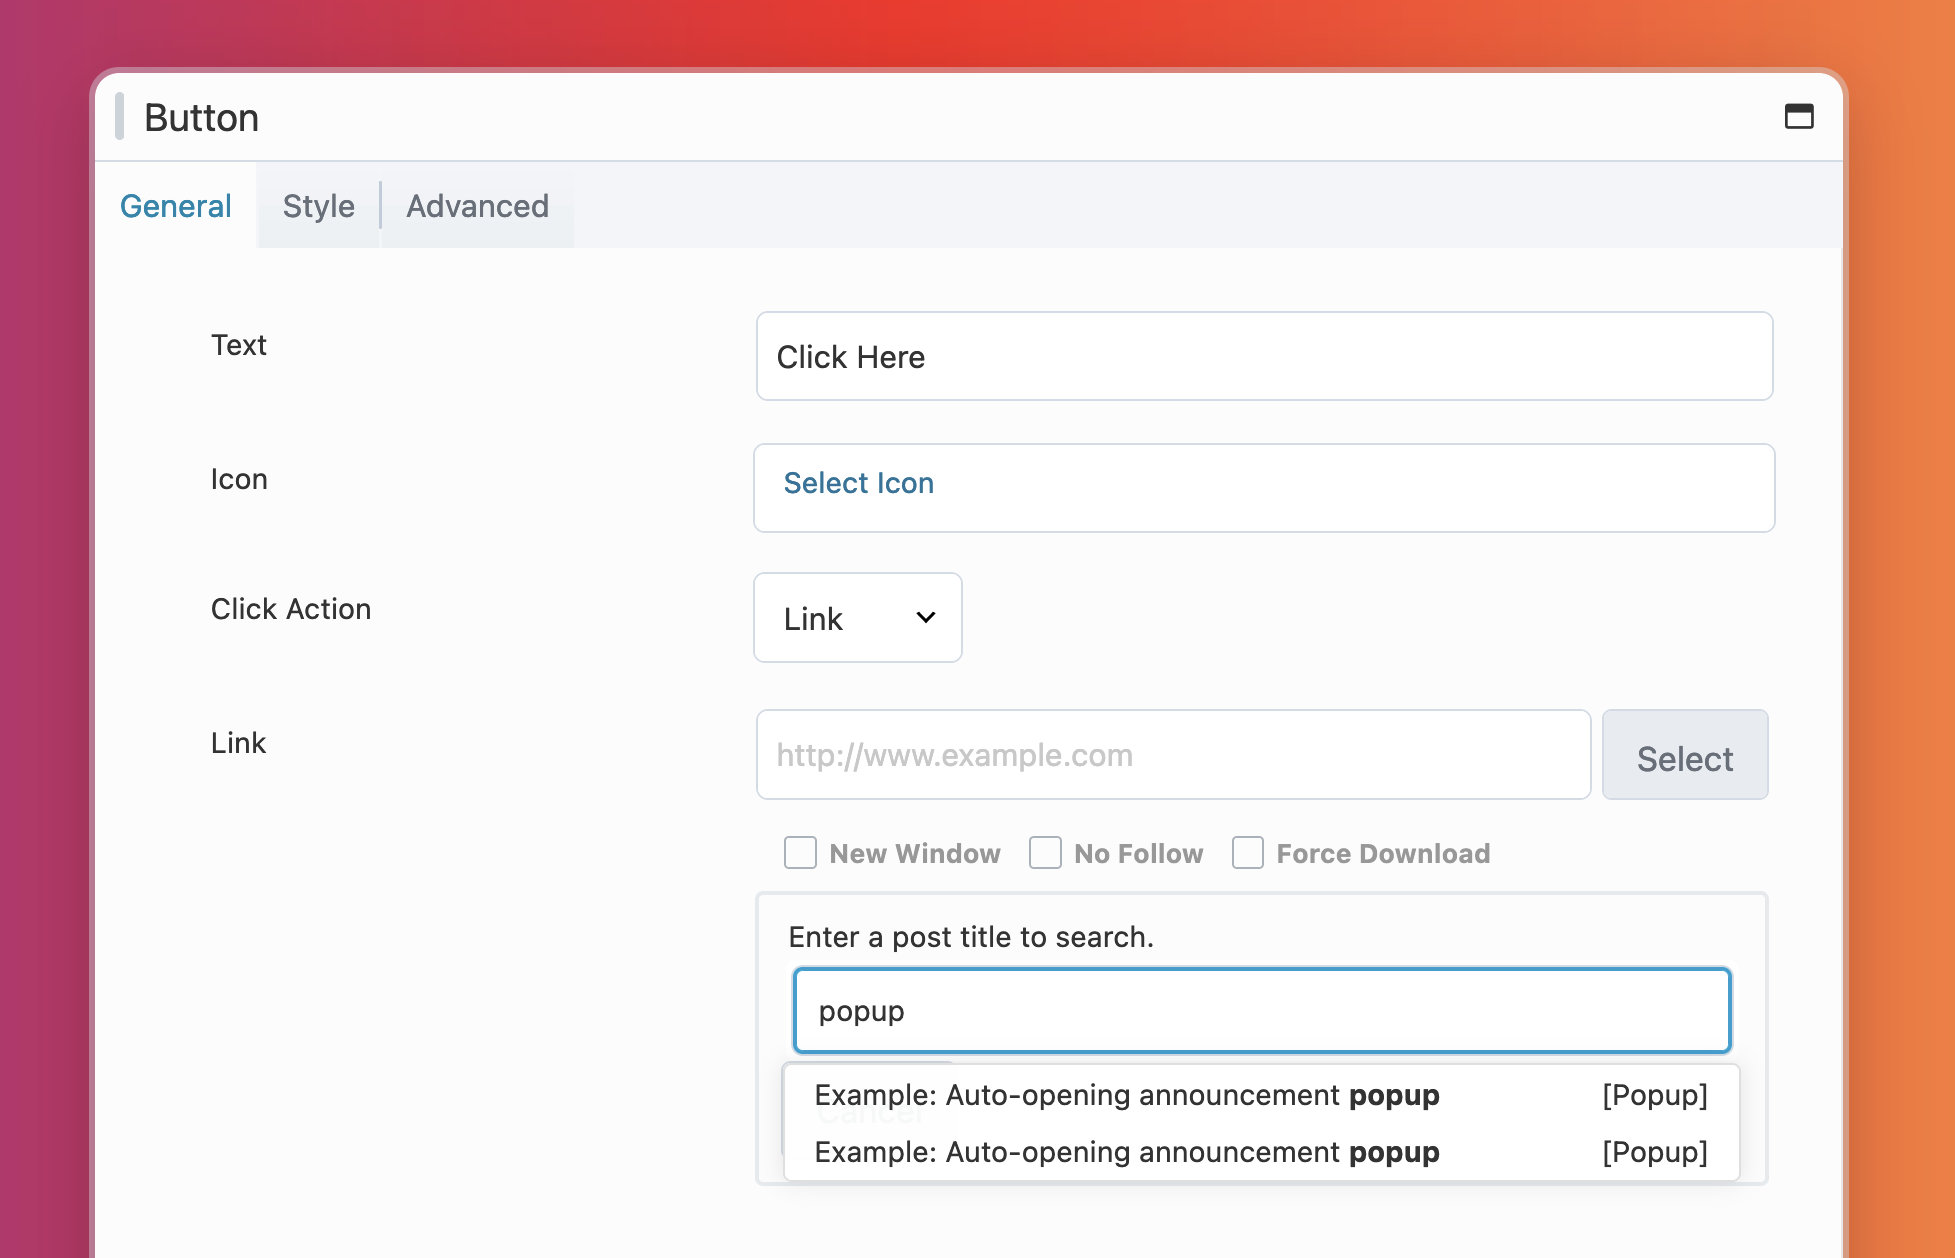
Once you've successfully created a popup, you can display it within your Beaver Builder layout by using any module that supports the Link option, such as the Button or Callout modules.
- Add a module that supports the Link option to your layout, such as the Button module.
- Open the module settings and locate the Link option.
- Click on the Select button and search for the name of your popup.
- Choose your popup from the list and click Save.
When you or your website visitors click on the link or button associated with that module, your popup will appear on the screen.
